Guide
Understanding Smoke Points: How to Choose and Use Cooking Oils
Understanding the smoke point of different fats is essential for achieving the perfect flavor and texture in your dishes. This guide explains the science of how oils react to heat and provides a step-by-step approach to choosing the right fat for every culinary technique.
Understanding the Chemistry of Cooking Fats
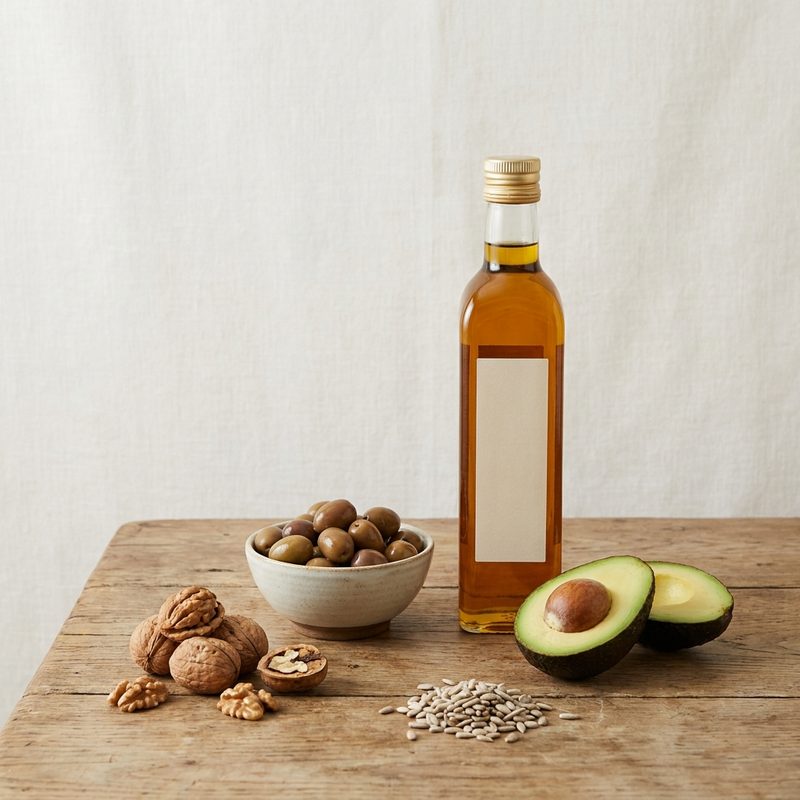
Every cooking oil is composed of a unique blend of fatty acids, vitamins, and minerals. When we apply heat, these components undergo chemical reactions. The smoke point is the specific temperature at which an oil stops shimmering and starts to produce a steady stream of smoke. At this point, the fat begins to break down, releasing free fatty acids and a substance called acrolein, which can give food a bitter, scorched taste and alter the nutritional integrity of the fat.
The Difference Between Refined and Unrefined Oils
To choose the right oil, you must understand how it was processed. Unrefined oils, like extra virgin olive oil or toasted sesame oil, are extracted using pressure and retain their natural nutrients, colors, and flavors. However, these organic particles have lower heat tolerance. Refined oils, such as canola, vegetable, or light olive oil, undergo filtration and heating processes to remove impurities. This results in a neutral flavor profile and a significantly higher smoke point, making them better suited for high-heat techniques like searing or deep-frying.
Step 1: Assessing Your Cooking Method
Before reaching for a bottle, identify your target temperature. Searing and deep-frying typically require temperatures between 375°F and 450°F (190°C to 230°C), necessitating high-smoke-point oils like avocado, peanut, or refined sunflower oil. Sautéing and medium-heat baking usually range from 325°F to 375°F, where fats like butter, coconut oil, or virgin olive oil perform well. Low-heat preparations or dressings are best for unrefined oils that would otherwise break down under intense heat.
Step 2: Preparing the Pan and Monitoring Heat
Start with a clean, dry pan. Add your oil and watch for visual cues as it warms up. As oil heats, it becomes more fluid and begins to shimmer, creating small, silk-like ripples on the surface. This is the ideal time to add your food to the pan. If the oil begins to emit thin wisps of smoke, the temperature is too high. Remove the pan from the heat immediately and let it cool before proceeding to avoid a burnt flavor profile in your final dish.
Step 3: Storing Oils to Maintain Stability
Heat, light, and oxygen are the enemies of cooking fats. Even a high-heat oil can degrade if stored improperly, effectively lowering its smoke point over time. To keep your oils stable, store them in a cool, dark cupboard rather than on the countertop next to the stove. Use opaque or dark glass bottles to protect the oil from light-induced oxidation, and always ensure the cap is tightly sealed after use.